|
||||
|
|
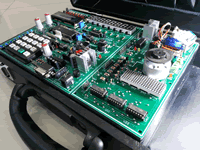
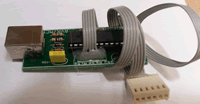
Step by step working with STM32F407 and Coocox Ok, you got your STM32F407 DIscovery board and you don’t know how to use it. In this tutorial I will explain how to use this board with CooCox IDE. I prefer install from their CoCenter. You will need to download ARM GCC from here. There is also youtube tutorial, make sure you did all correct. Unlike the 8-bit microcontrollers, the STM32F4 is somewhat more difficult the operate. I’ll show here how you can get your STM32F4 up and running very quickly. The most difficult part is the setup of the MCU’s clock and debugging to a remote terminal (PC). Let’s start with the easy part. Install CooCox, ARM GCC and ST-LINK. Create a first project with blinking leds.
1. Prepared LED connection interface So, you have finished installing CoIDE. Open it and click Project -> New project. Choose your project name and project path and click Next. In the next step choose Chip and Next. Fig. 2. New Project
Fig.3. Select chip STM32F407VG
Fig.4. Select basic component
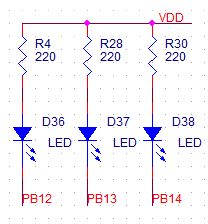
Fig. 5. Include standart library CMSIS #include "stm32f4xx.h" int main(void) GPIO_InitDef.GPIO_Pin = GPIO_Pin_12 | GPIO_Pin_13 | GPIO_Pin_14;
GPIO_InitDef.GPIO_OType = GPIO_OType_PP;
GPIO_InitDef.GPIO_Mode = GPIO_Mode_OUT;
GPIO_InitDef.GPIO_PuPd = GPIO_PuPd_NOPULL;
GPIO_InitDef.GPIO_Speed = GPIO_Speed_100MHz;
//Initialize pins
GPIO_Init(GPIOB, &GPIO_InitDef);
volatile int i; while (1)
|
|||